DIY Brake Repair: How to Fix Your Brakes Like a Pro
If you own a car, you know how important it is to have good brakes. Without them, you can’t stop your vehicle safely, which puts you and everyone else on the road in danger. While taking your car to a mechanic for brake repairs is always an option, you can save some money by doing it yourself. With a little know-how and some basic tools, you can fix your brakes like a pro.
Here’s a step-by-step guide to help you repair your brakes:
Step 1: Gather the Necessary Tools and Supplies
To repair your brakes, you’ll need some basic tools and supplies, including:
- A jack and jack stands
- Lug wrench
- C-clamp
- Brake cleaner
- Brake fluid
- Replacement brake pads and/or rotors
- Gloves
- Safety glasses
Step 2: Remove the Wheel and Caliper
To start the brake repair process, you’ll need to remove the wheel. Use a lug wrench to loosen the lug nuts and lift the vehicle using a jack. Make sure you place the jack stands under the vehicle to secure it before you start working on the brake. Once the wheel is off, remove the caliper by using a socket wrench to loosen the bolts.
Step 3: Inspect the Brakes
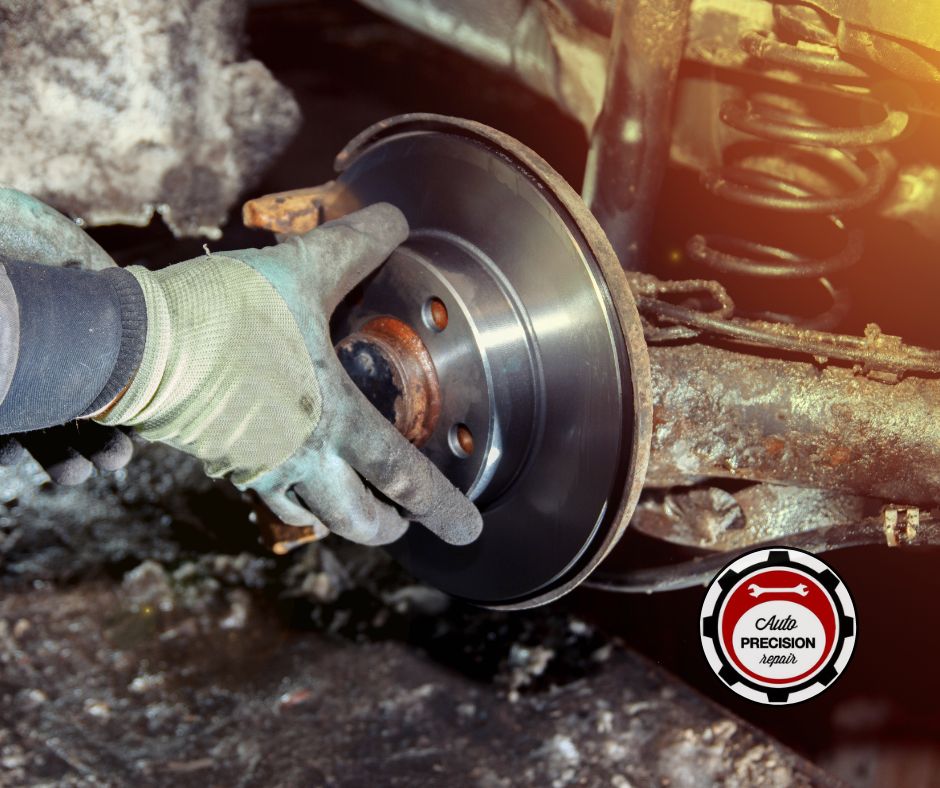
Before you start replacing anything, inspect the brakes to determine what needs to be replaced. Check the brake pads for signs of wear and tear, such as thinning or cracking. If the pads look worn, it’s time to replace them. Check the rotors for any signs of warping or grooving. If the rotors are damaged, you’ll need to replace them as well.
Step 4: Replace the Brake Pads and/or Rotors
If you need to replace the brake pads, remove the old ones by using a C-clamp to compress the piston in the caliper. This will allow you to remove the old pads and replace them with new ones. If you need to replace the rotors, remove them by using a socket wrench to loosen the bolts that hold them in place. Then, replace them with new ones.
Step 5: Reinstall the Caliper and Wheel
Once you’ve replaced the brake pads and/or rotors, it’s time to reinstall the caliper and wheel. Make sure you tighten the bolts securely and test the brakes before driving the vehicle.
Step 6: Check and Top Off the Brake Fluid
Before you finish the repair process, check the brake fluid level in the master cylinder. If it’s low, top it off with the recommended brake fluid.
In conclusion, DIY brake repair can be done with some basic tools and supplies. It’s important to inspect the brakes before you start replacing anything and to make sure you have the correct replacement parts. Remember to always wear gloves and safety glasses when working on your car. With these tips, you can fix your brakes like a pro and keep your vehicle running safely on the road.