The Complete Checklist for Routine Brake Maintenance
January 8, 2024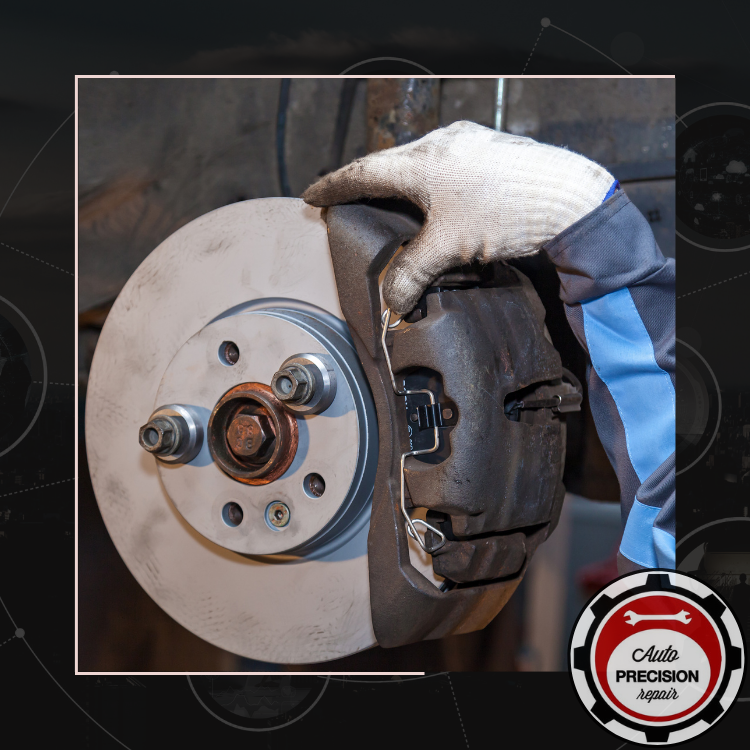
Brake Basics: Understanding Your Car’s Most Crucial Safety System
January 8, 2024Welcome to this comprehensive guide on DIY brake repair pad replacement. As an integral part of your vehicle’s braking system, understanding the process of replacing brake pads is a crucial skill for any car owner.
This detailed manual will take you through the necessary tools and the step-by-step procedure, fostering a sense of belonging and self-sufficiency every car enthusiast seeks.
Written in precise, professional language, we aim to impart knowledge that is not only accurate but also accessible.
So, let’s delve into the world of brake pad replacement and elevate your DIY skills to the next level.
Gathering Your Replacement Tools
Before you begin the actual process of brake repair pad replacement, it’s crucial that you gather all necessary tools to ensure a smooth and efficient DIY project. This includes a jack and jack stands to safely elevate your vehicle, a lug wrench for wheel removal, a c-clamp or brake piston compressor to retract the brake piston, and the new brake pads.
A torque wrench and a bungee cord might also be beneficial for precision and convenience.
Proper preparation is the key to a successful project. It’s not just about saving on labor costs, but also about the sense of accomplishment and belonging in the community of DIY enthusiasts, who take pride in their ability to maintain and repair their own vehicles.
Detailed Brake Pad Replacement Process
With the necessary tools at hand, we can now delve into the intricate process of brake pad replacement, which requires careful attention to ensure the safety and efficacy of the procedure. This isn’t just an exercise in mechanical skill; it’s an integral part of ensuring your vehicle’s road-worthiness.
- Loosen the Lug Nuts: Begin by loosening the lug nuts on the wheel with your tire iron while the car is still on the ground.
- Lift the Car: Use the car jack to lift the car and then secure it with jack stands.
- Remove the Wheel: Completely remove the lug nuts and then take off the wheel.
- Replace Brake Pads: Locate the brake caliper, remove the old pads, and replace them with the new ones. Make sure to apply brake grease on the back of the new pads to prevent squealing.
Take pride in maintaining your vehicle’s safety and functionality.


